Spring Touring: gear, hazards, timing, CORN!
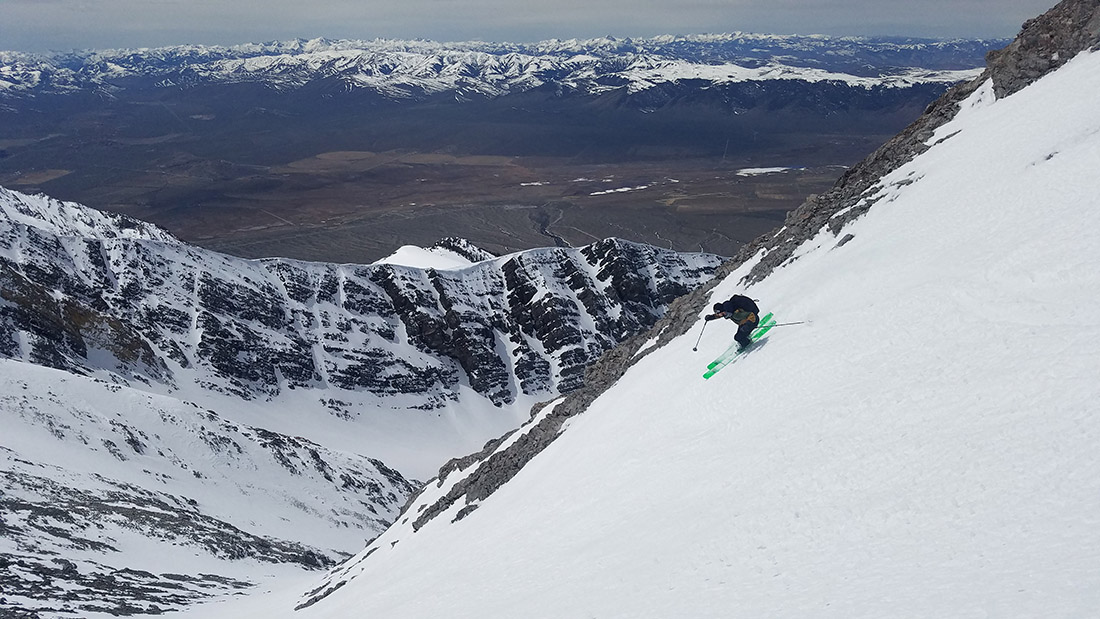
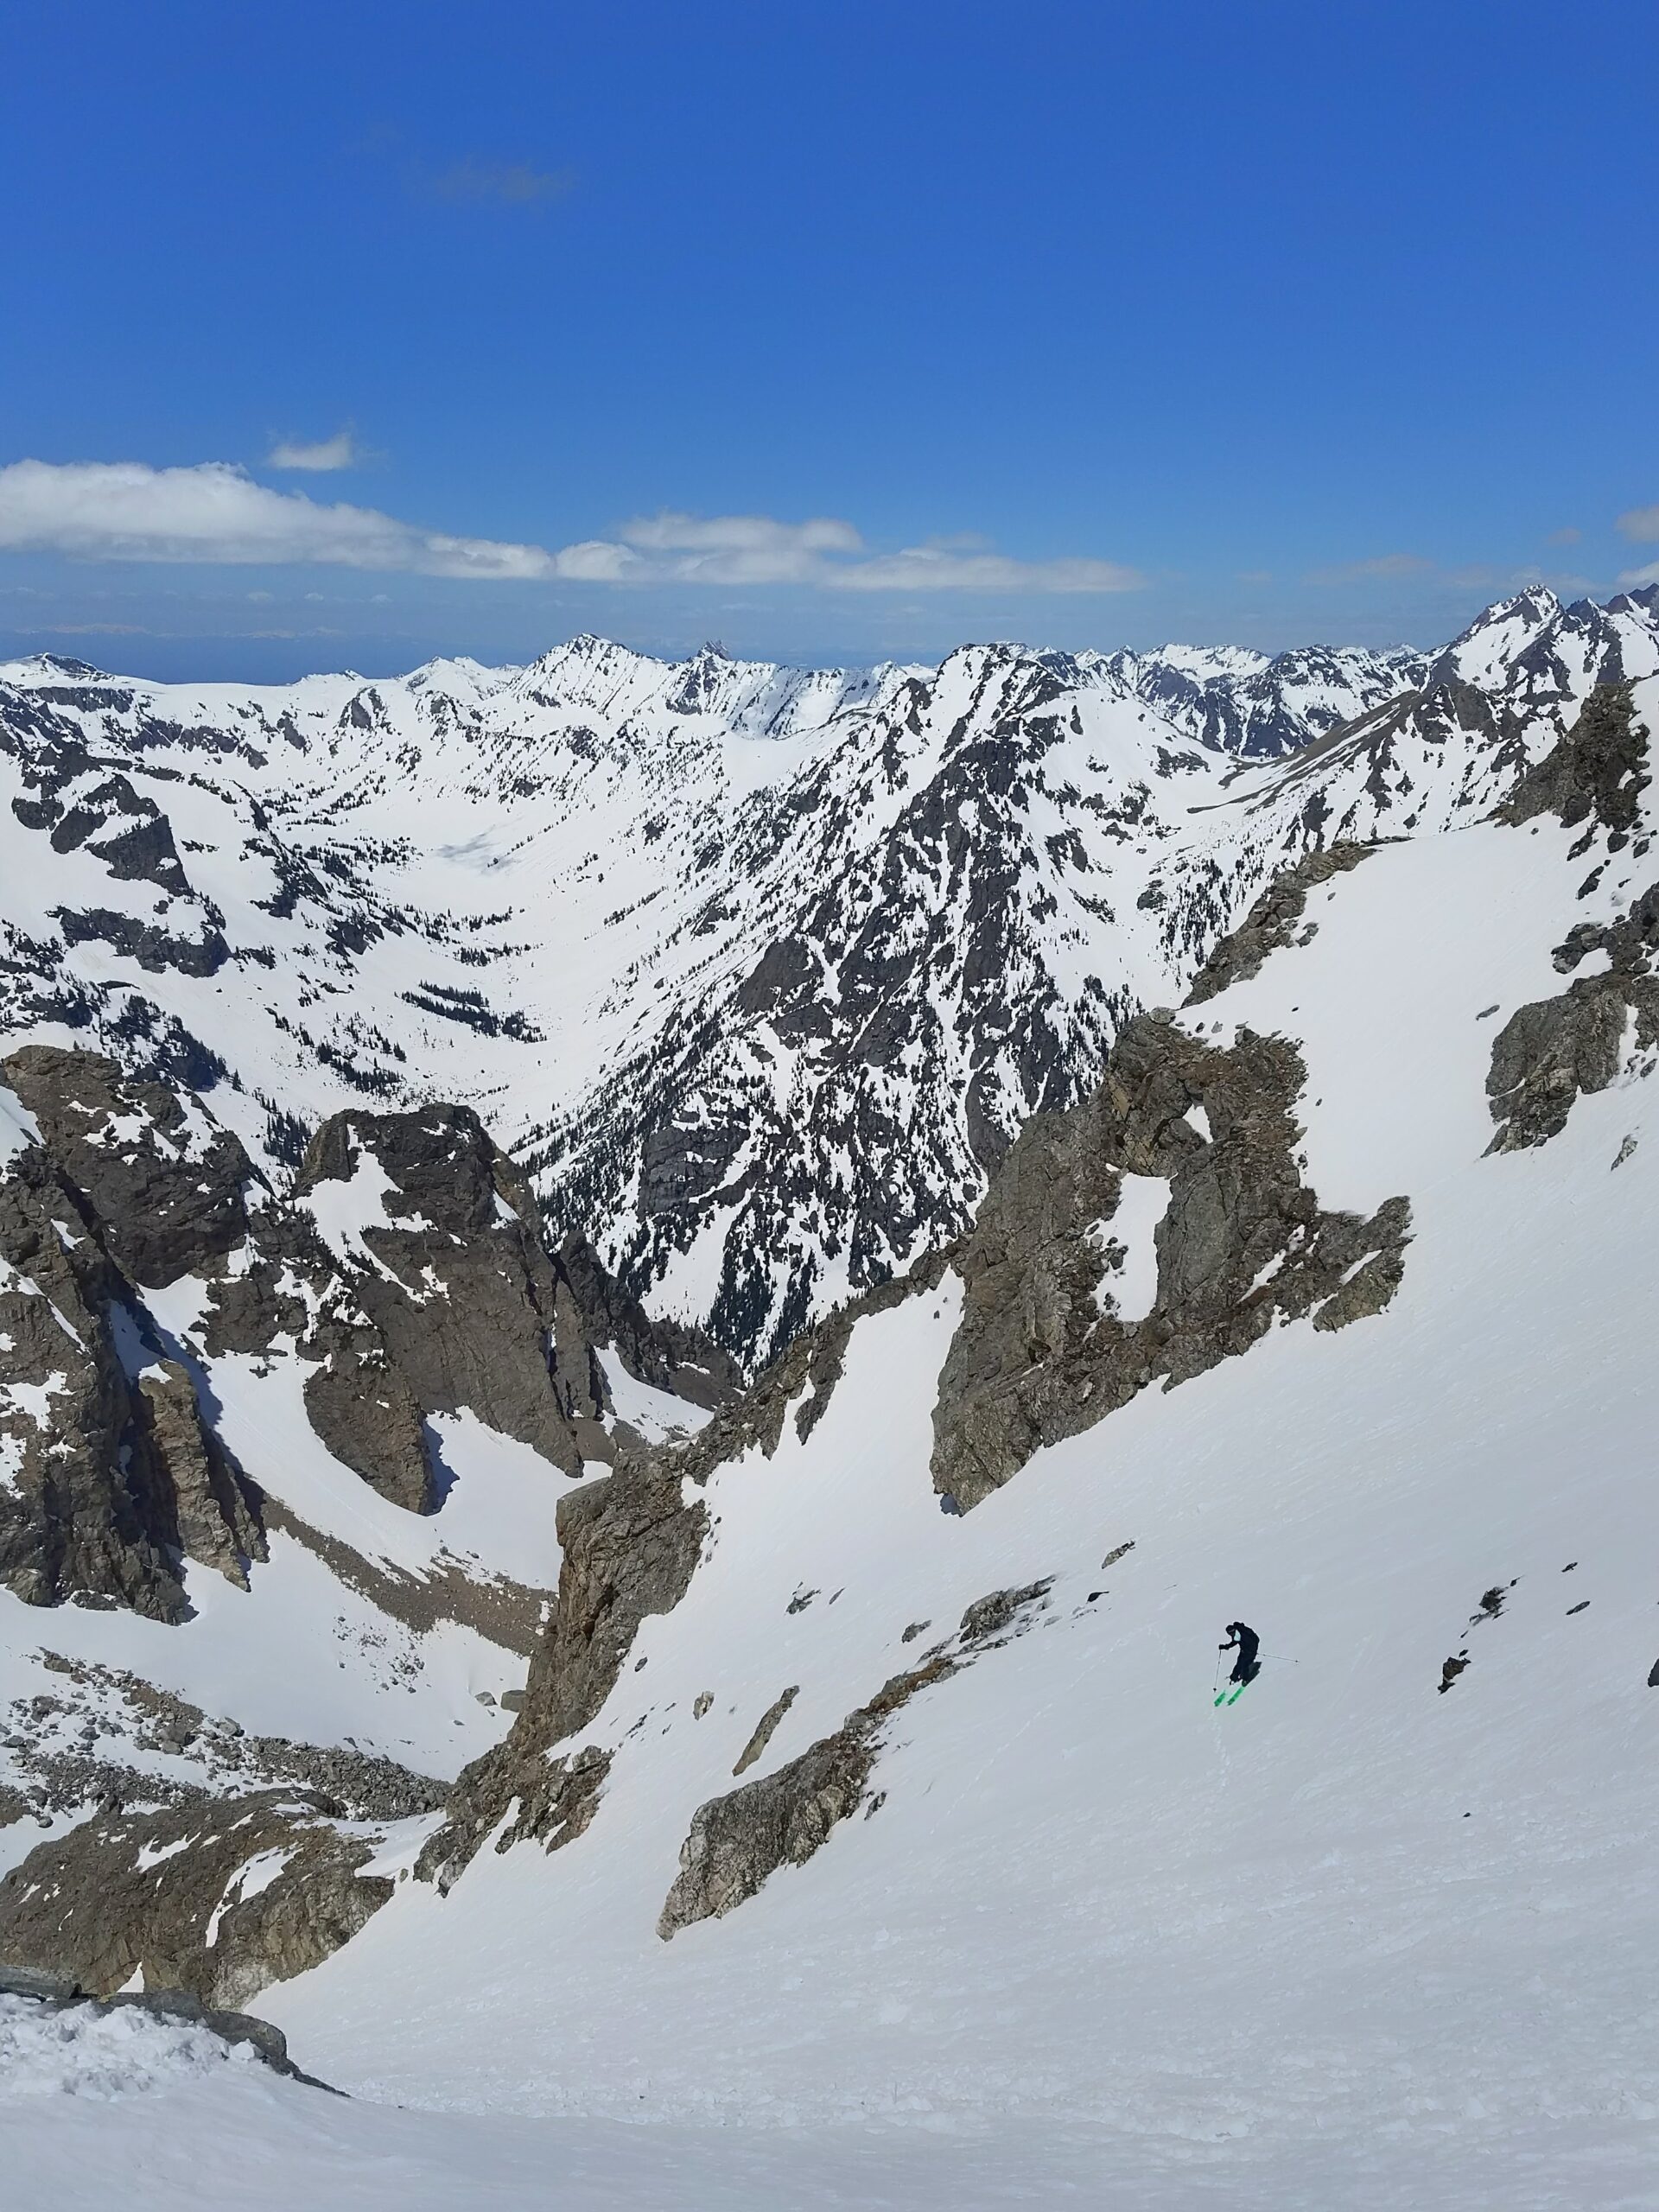
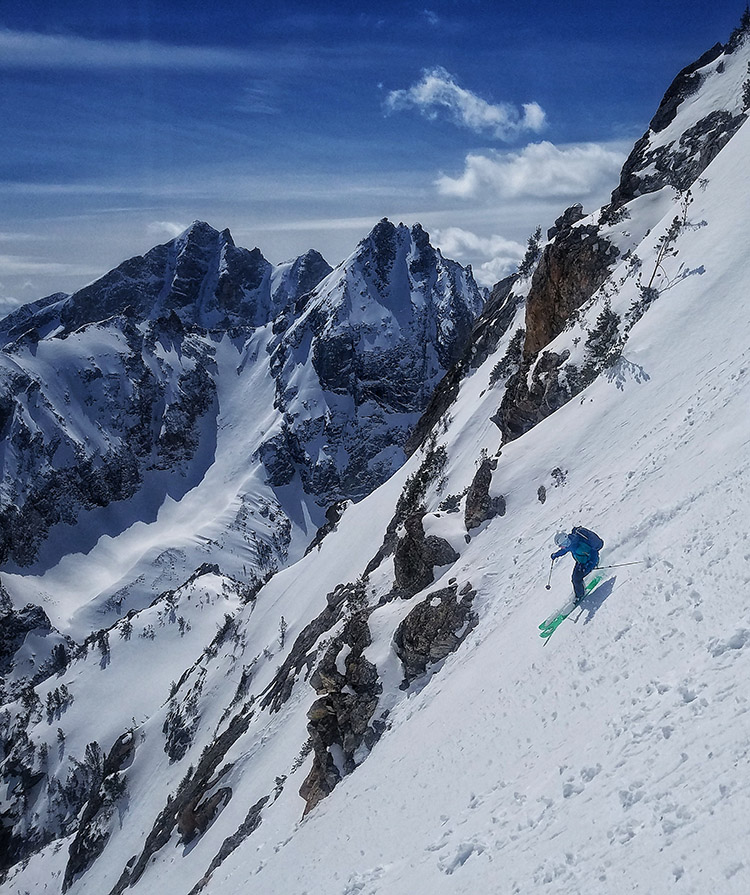
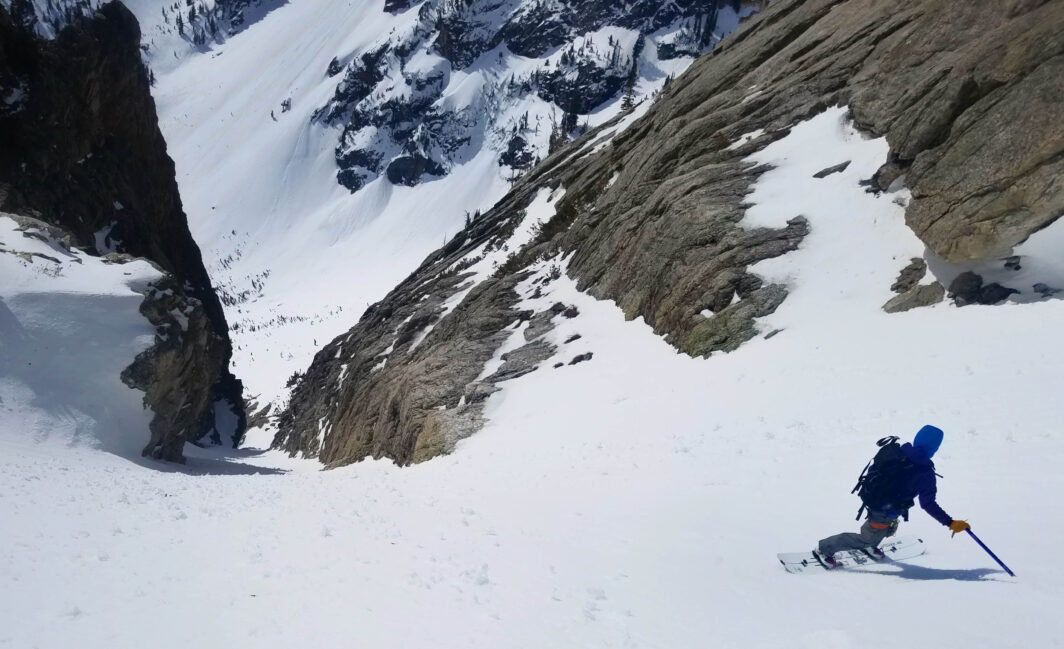
Lexie Anderson on a spring touring mission in the Tetons on the Voile Spartan Splitboard. Photo courtesy of Arron Diamond.
Share this Post
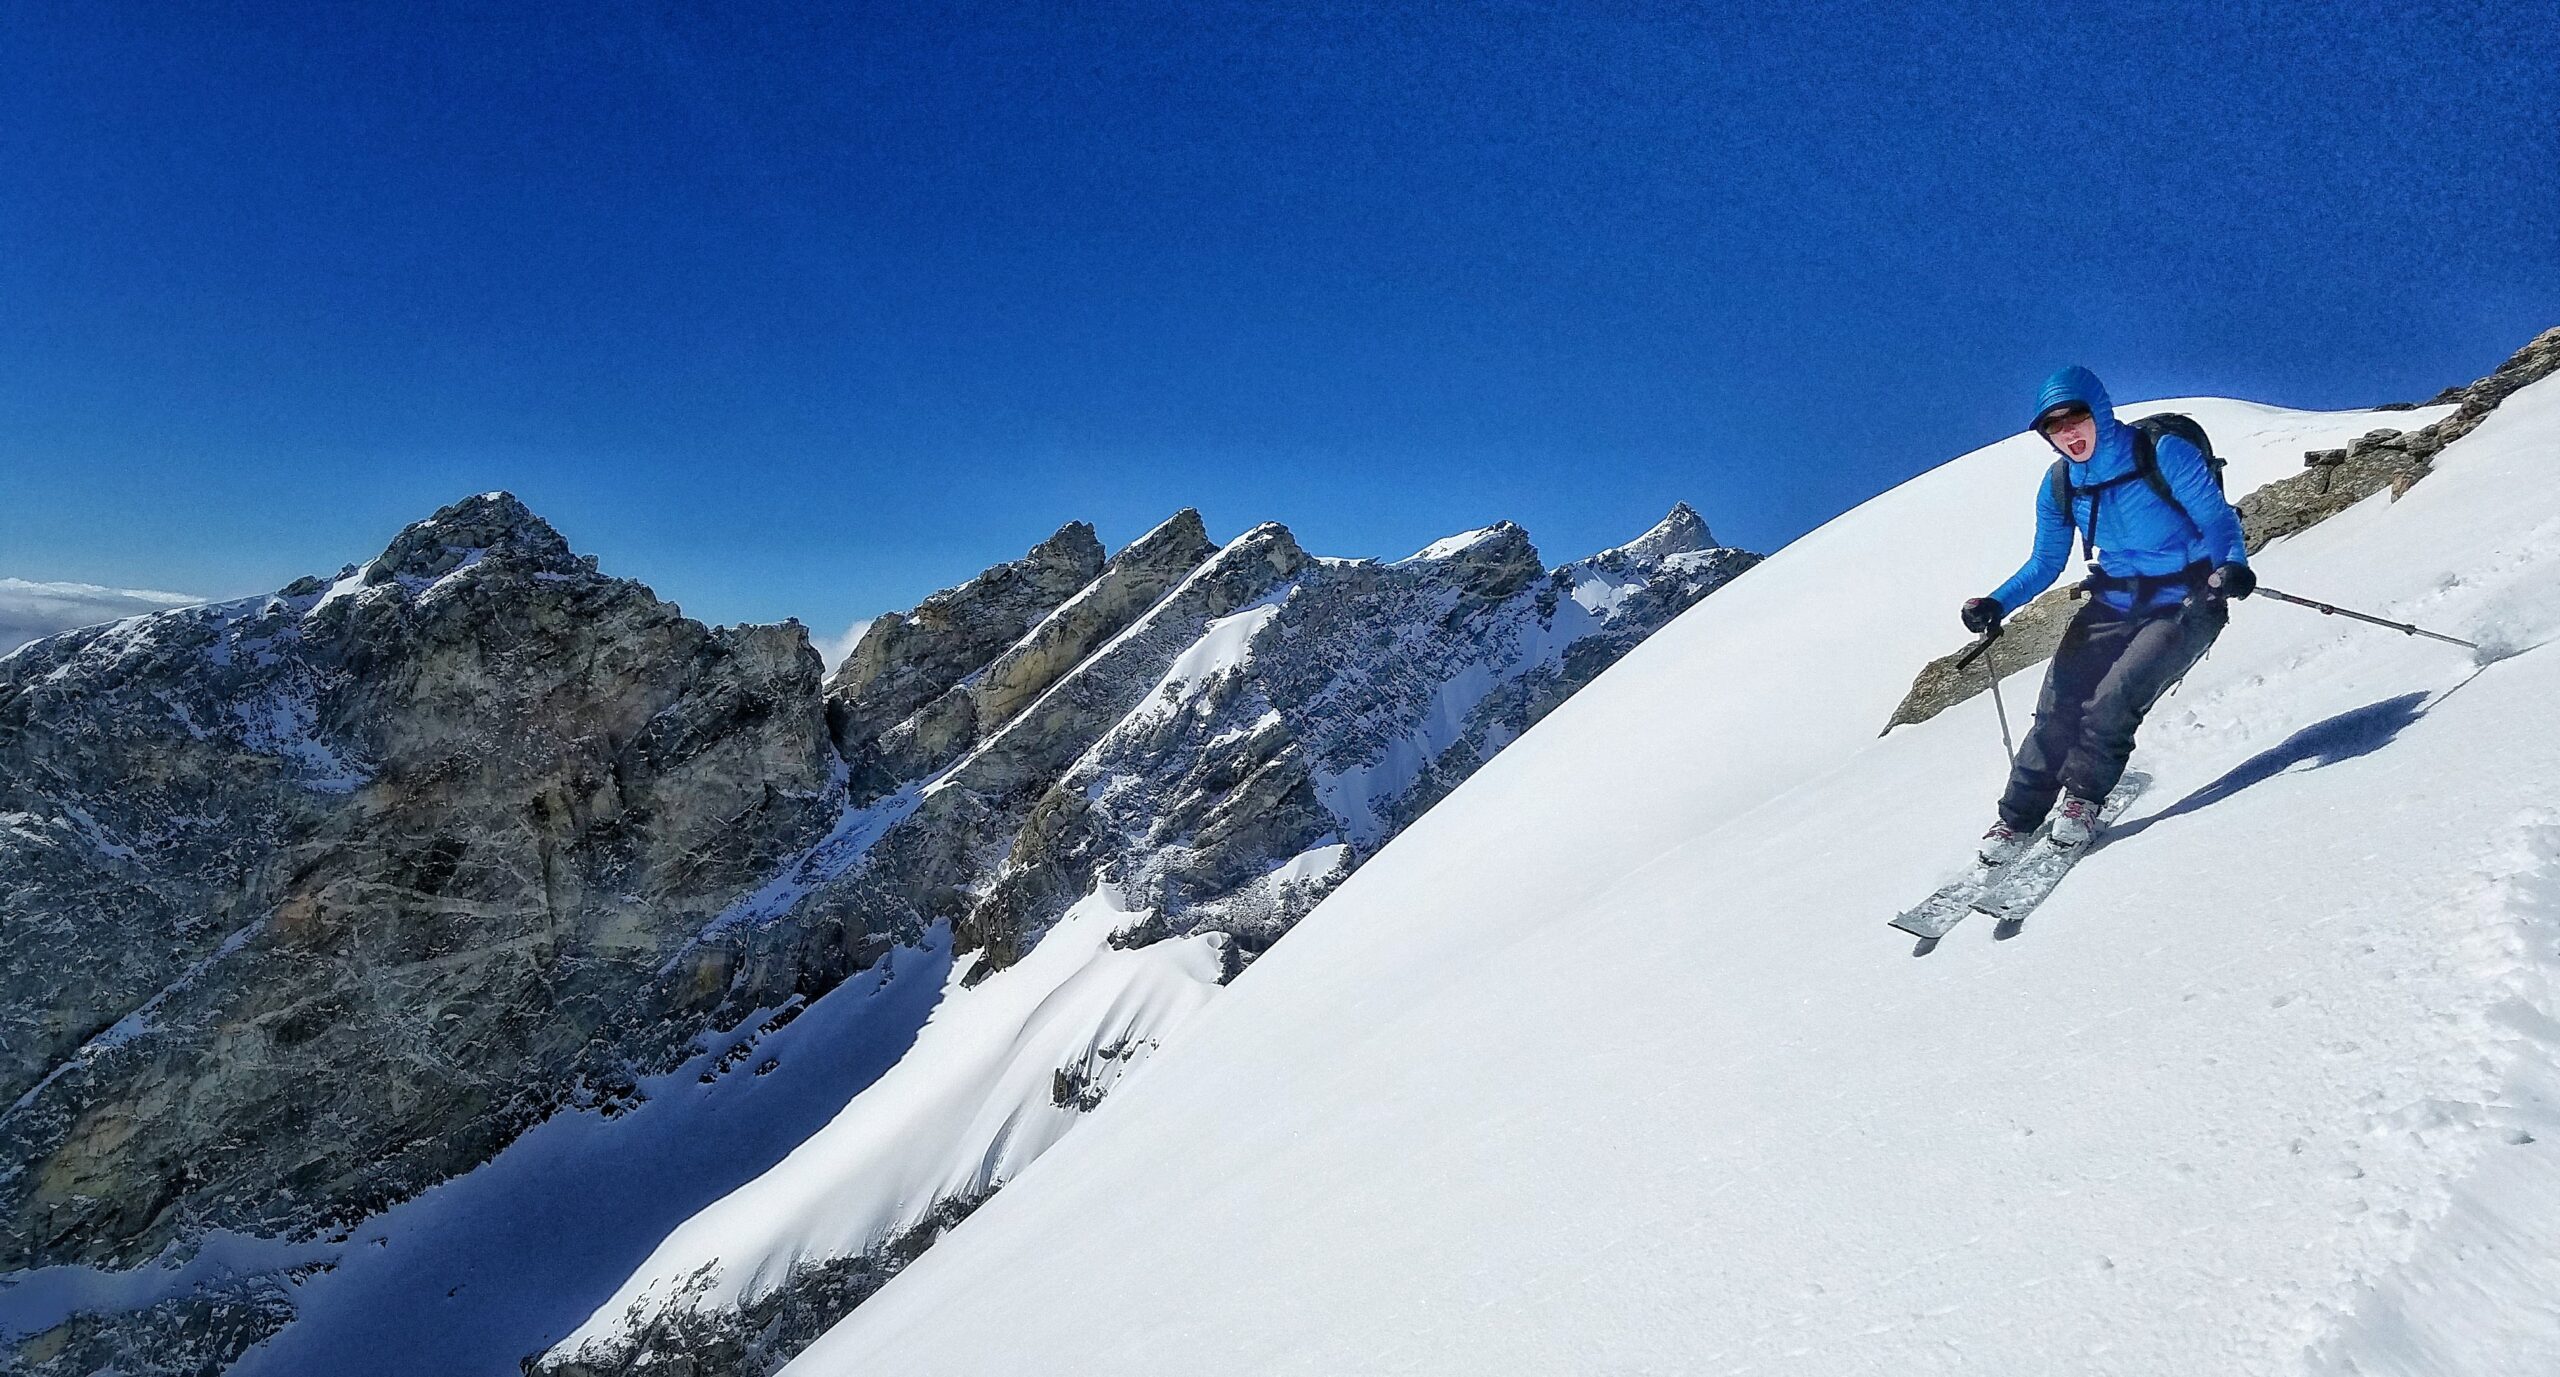
The days are getting longer, temps are getting warmer, and if your anything like me your eyes have been gazing upwards, towards the alpine, all winter waiting for the peaks to become more friendly. The deep snows of winter are consolidating and beginning to run into the rivers. This change to our mountains is a welcome one but not without its own hazards, joys, skill set, and gear required to travel through them.
Spring Touring Gear
Let’s dive a bit into the gear needed for a spring mission. Just like in the winter, you will need your “normal” kit of food, water, avalanche, rescue, and first aid gear. The difference between winter and spring is during the spring you will also need to be equipped to travel on firm, frozen surfaces. Learning how to use this gear is best learned in person from an experienced guide or mentor. In a pinch, resources like The Freedom of the Hills can get you started in the right direction.
Ice axe – A lightweight traditional ice axe such as a Petzl Ride or BD Raven is a nice addition to the spring touring kit. Most people will carry an ice axe to use as a tool for balance and/or self-arrest. Slightly more creative uses also exist for the ice axe: anchoring, scoring, or chopping steps (in lieu of crampons) and climbing steep snow and ice.
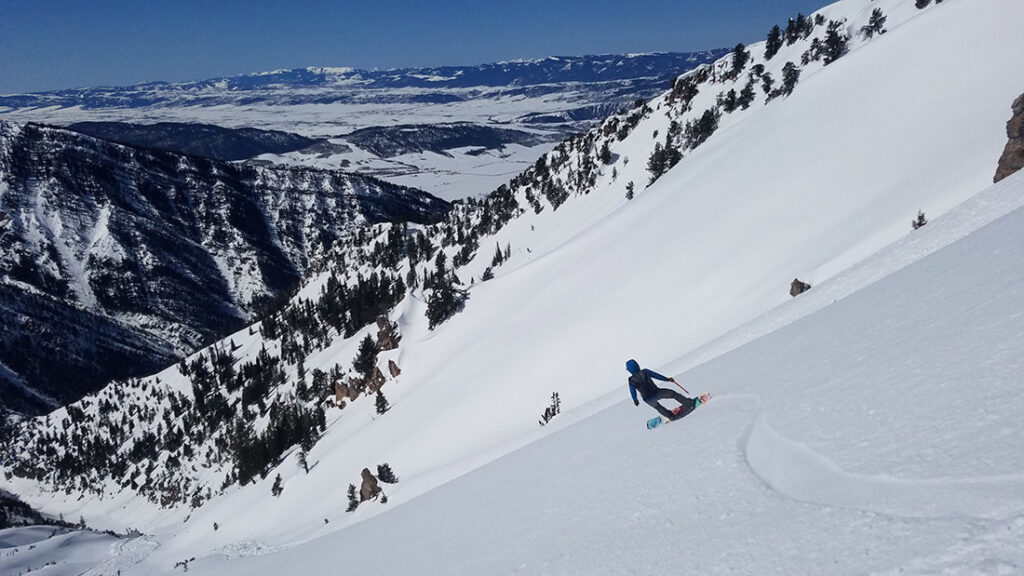
Whippet – Whippets have been around for a while now first introduced by Andrew Mclean over a decade ago. These ski-pole-ice-axe hybrids get mixed reviews from skiers. Some are completely in love while others find them a poor compromise between two tools. In my opinion, spring touring is where they can really shine.
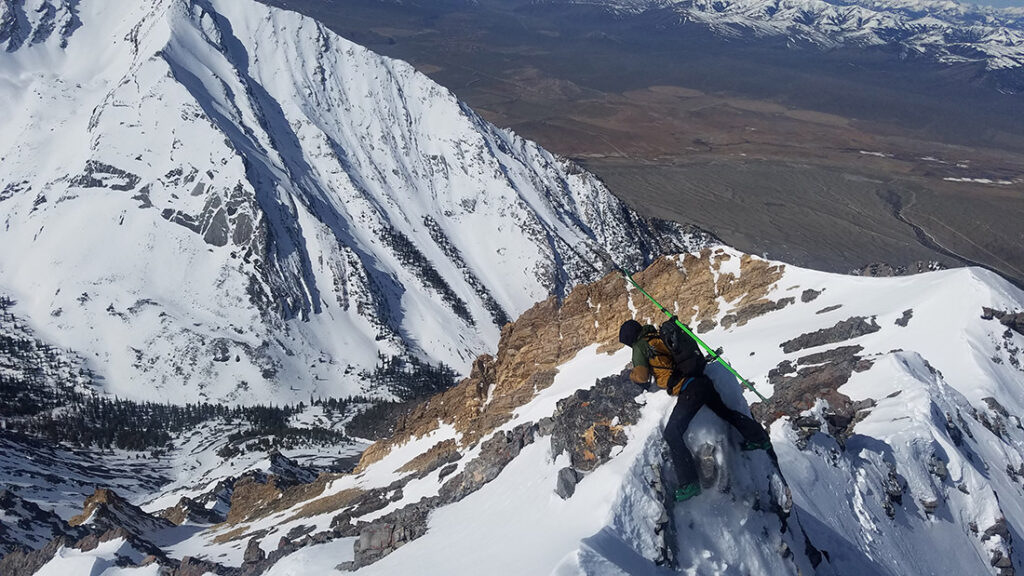
Crampons – For the most part a horizontal front point, aluminum crampon is a nice addition to the spring ski touring kit. They can make bootpacking much more secure and avoid the dreaded slide for life. Steel crampons also have a place in the spring. Rocky and snowy ridgelines and ice and/or mixed climbing demand a more durable and reliable crampon. Consider the terrain and route conditions you plan on encountering and choose wisely.
Ski Crampons – These are most useful in breakable crust conditions where the crust is unsupportable to boots but difficult to set an edge in while skinning. They can also add security on slick well-traveled skintracks. These little widgets come in two styles, fixed and floating and some that do both. I prefer a floating style as they allow the ski to still glide up the hill without lifting the ski, but they are less secure than a ski crampon that is fixed to the ski.
Skin wax – In the spring when we transition back and forth between moist or wet snow and dry snow (common after a spring storm) our skins can collect large amounts of snow. This turns the normally efficient spring skinning into something worse than snowshoes at times. Skin wax is rubbed directly on your skins in the morning and potentially throughout the day in an effort to keep them dry and glop-free.
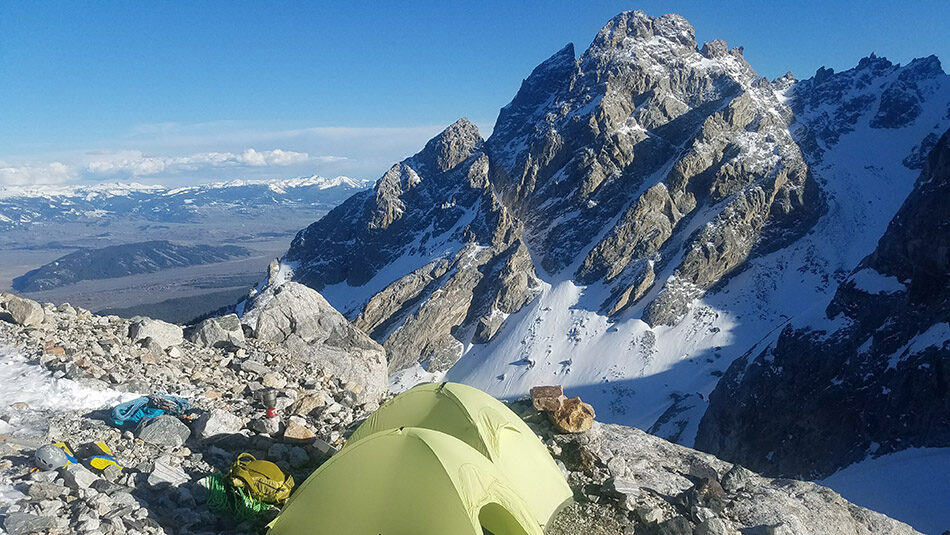
Springtime Hazards
Avalanches are a real possibility in the springtime and a lot of wet slabs are large and unsurvivable. Luckily for us, these problems usually present in a predictable pattern of stability in the morning trending to instability as the day progresses. This instability is usually preceded by clear signs of warming such as rollerballs, increased ski and boot penetration, and wet loose avalanching. If you see these signs, move to shadier aspect or tuck tail and head back to the car.
In the spring the snow surface is generally firm and on slopes as low as 35 degrees a slip and fall can quickly turn into a terrifying out-of-control slide for life. Your first line of defense here is your footwear and ability to use it. At first thought, stopping to add crampons or switching from skinning to bootpacking might seem like more time than it’s worth. That is often not the case. The additional security typically allows you to move through the terrain more confidently and thus make up the relatively short amount of time lost to the transition. It might seem obvious but the easiest way to avoid an uncontrolled slide is to not slip in the first place.
Your second line of defense is your self-arrest. Before going into the mountains in the spring or summer practice your self-arrest on a small slope with a clean runout. This book details the finer points of travel over firm snow.
Timing (Spring Tour Planning)
Skiing in the spring is all about timing. Timing is the difference between skiing frozen chunder (not recommended), perfect corn, or in the worst-case scenario getting avalanched. Unfortunately corn o’clock is a moving target and to nail it you’ll need to do some homework. Before looking too far into the snow conditions, you’ll need to figure out how fast you move so that you can arrive on time for corn while getting every possible minute of sleep.
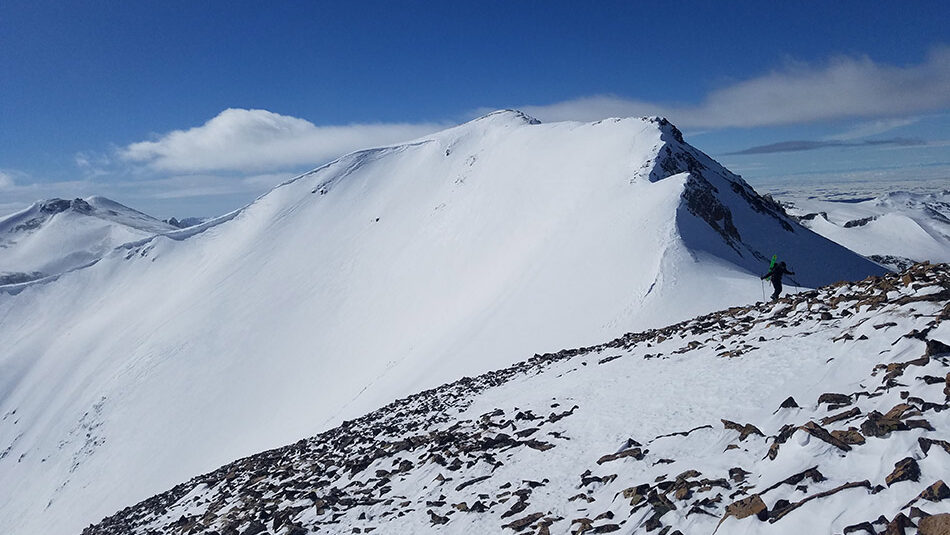
How fast are you?
If you ask 10 skiers how they figure out what time to start, you’ll most likely get at least a few different answers. Planning for tours you have already been on is relatively simple. It will probably take about the same amount of time as it did last time; the route finding being known, the only questions left are, “Are you and your friends in better, worse, or about the same shape as you were last time?” and “Will conditions be faster or slower than last time?”
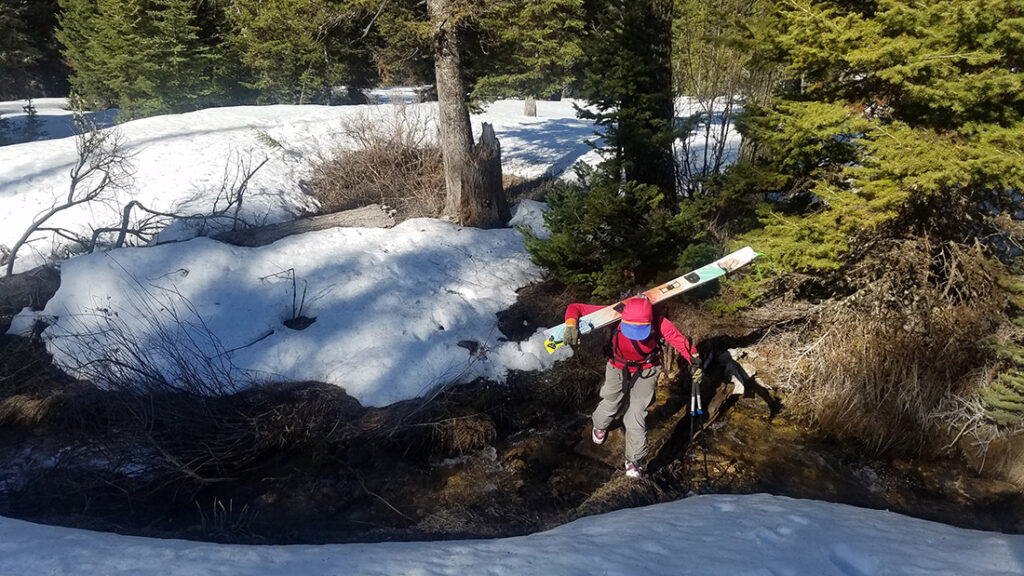
Planning for new terrain is much harder and there is no perfect way that will ensure you nail it every time. There is a lot of unknowns and accounting for these can be difficult. Things like creek crossings, bushwhacking, getting lost, or difficult snow conditions can all add unforeseen time sucks. I use the Munter Method to help me plan. The Munter Method is a method for calculating time using a mathematic formula based on distance and elevation gain. It is adjustable based on mode of travel (uphill or downhill on skis or boots) as well as group fitness. It is tedious to use at first but can be very accurate when practiced. A great article from Sarah Carpenter of the American Avalanche Institute can be found here.
Other, simpler methods work as well. Using a rule of thumb of 1000ft/hour for uphill terrain and 1-2mph for flat terrain is a good starting point.
Corn Hunting
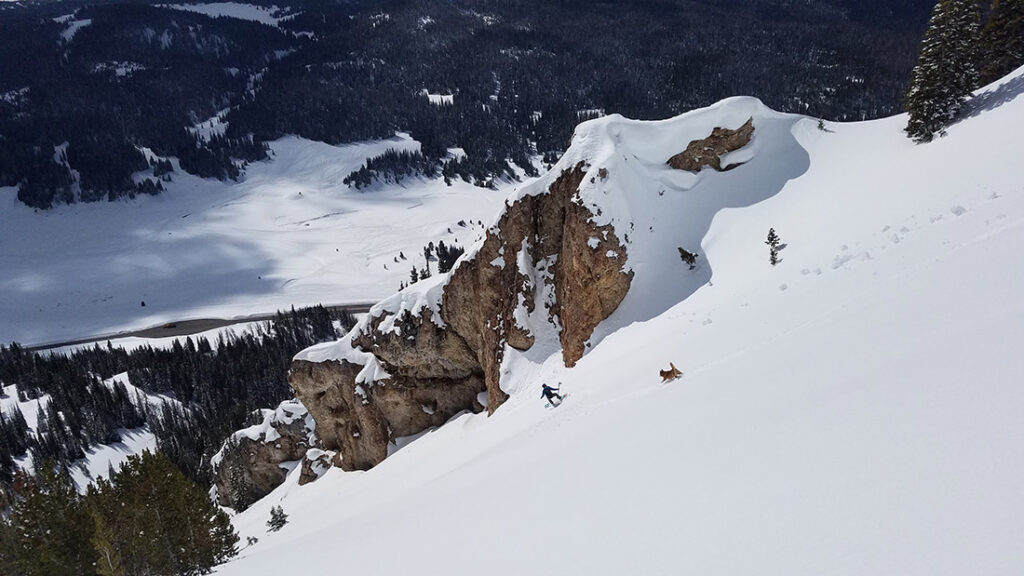
Spring touring conditions are fickle and dynamic but when your ripping perfect corn all the homework will seem worthwhile. Corn is a large melt-freeze grain formed during prolonged periods of daytime warming and evening freezing. Generally, the longer this weather pattern continues the better the corn skiing will be. Looking at the weather there are a few things I consider before looking too far into the terrain side of things. These questions help me plan the timing of my day:
- How well did it freeze last night?
- What are the daytime temps going to be?
- Will there be wind? From where?
- Will there be clouds?
Terrain
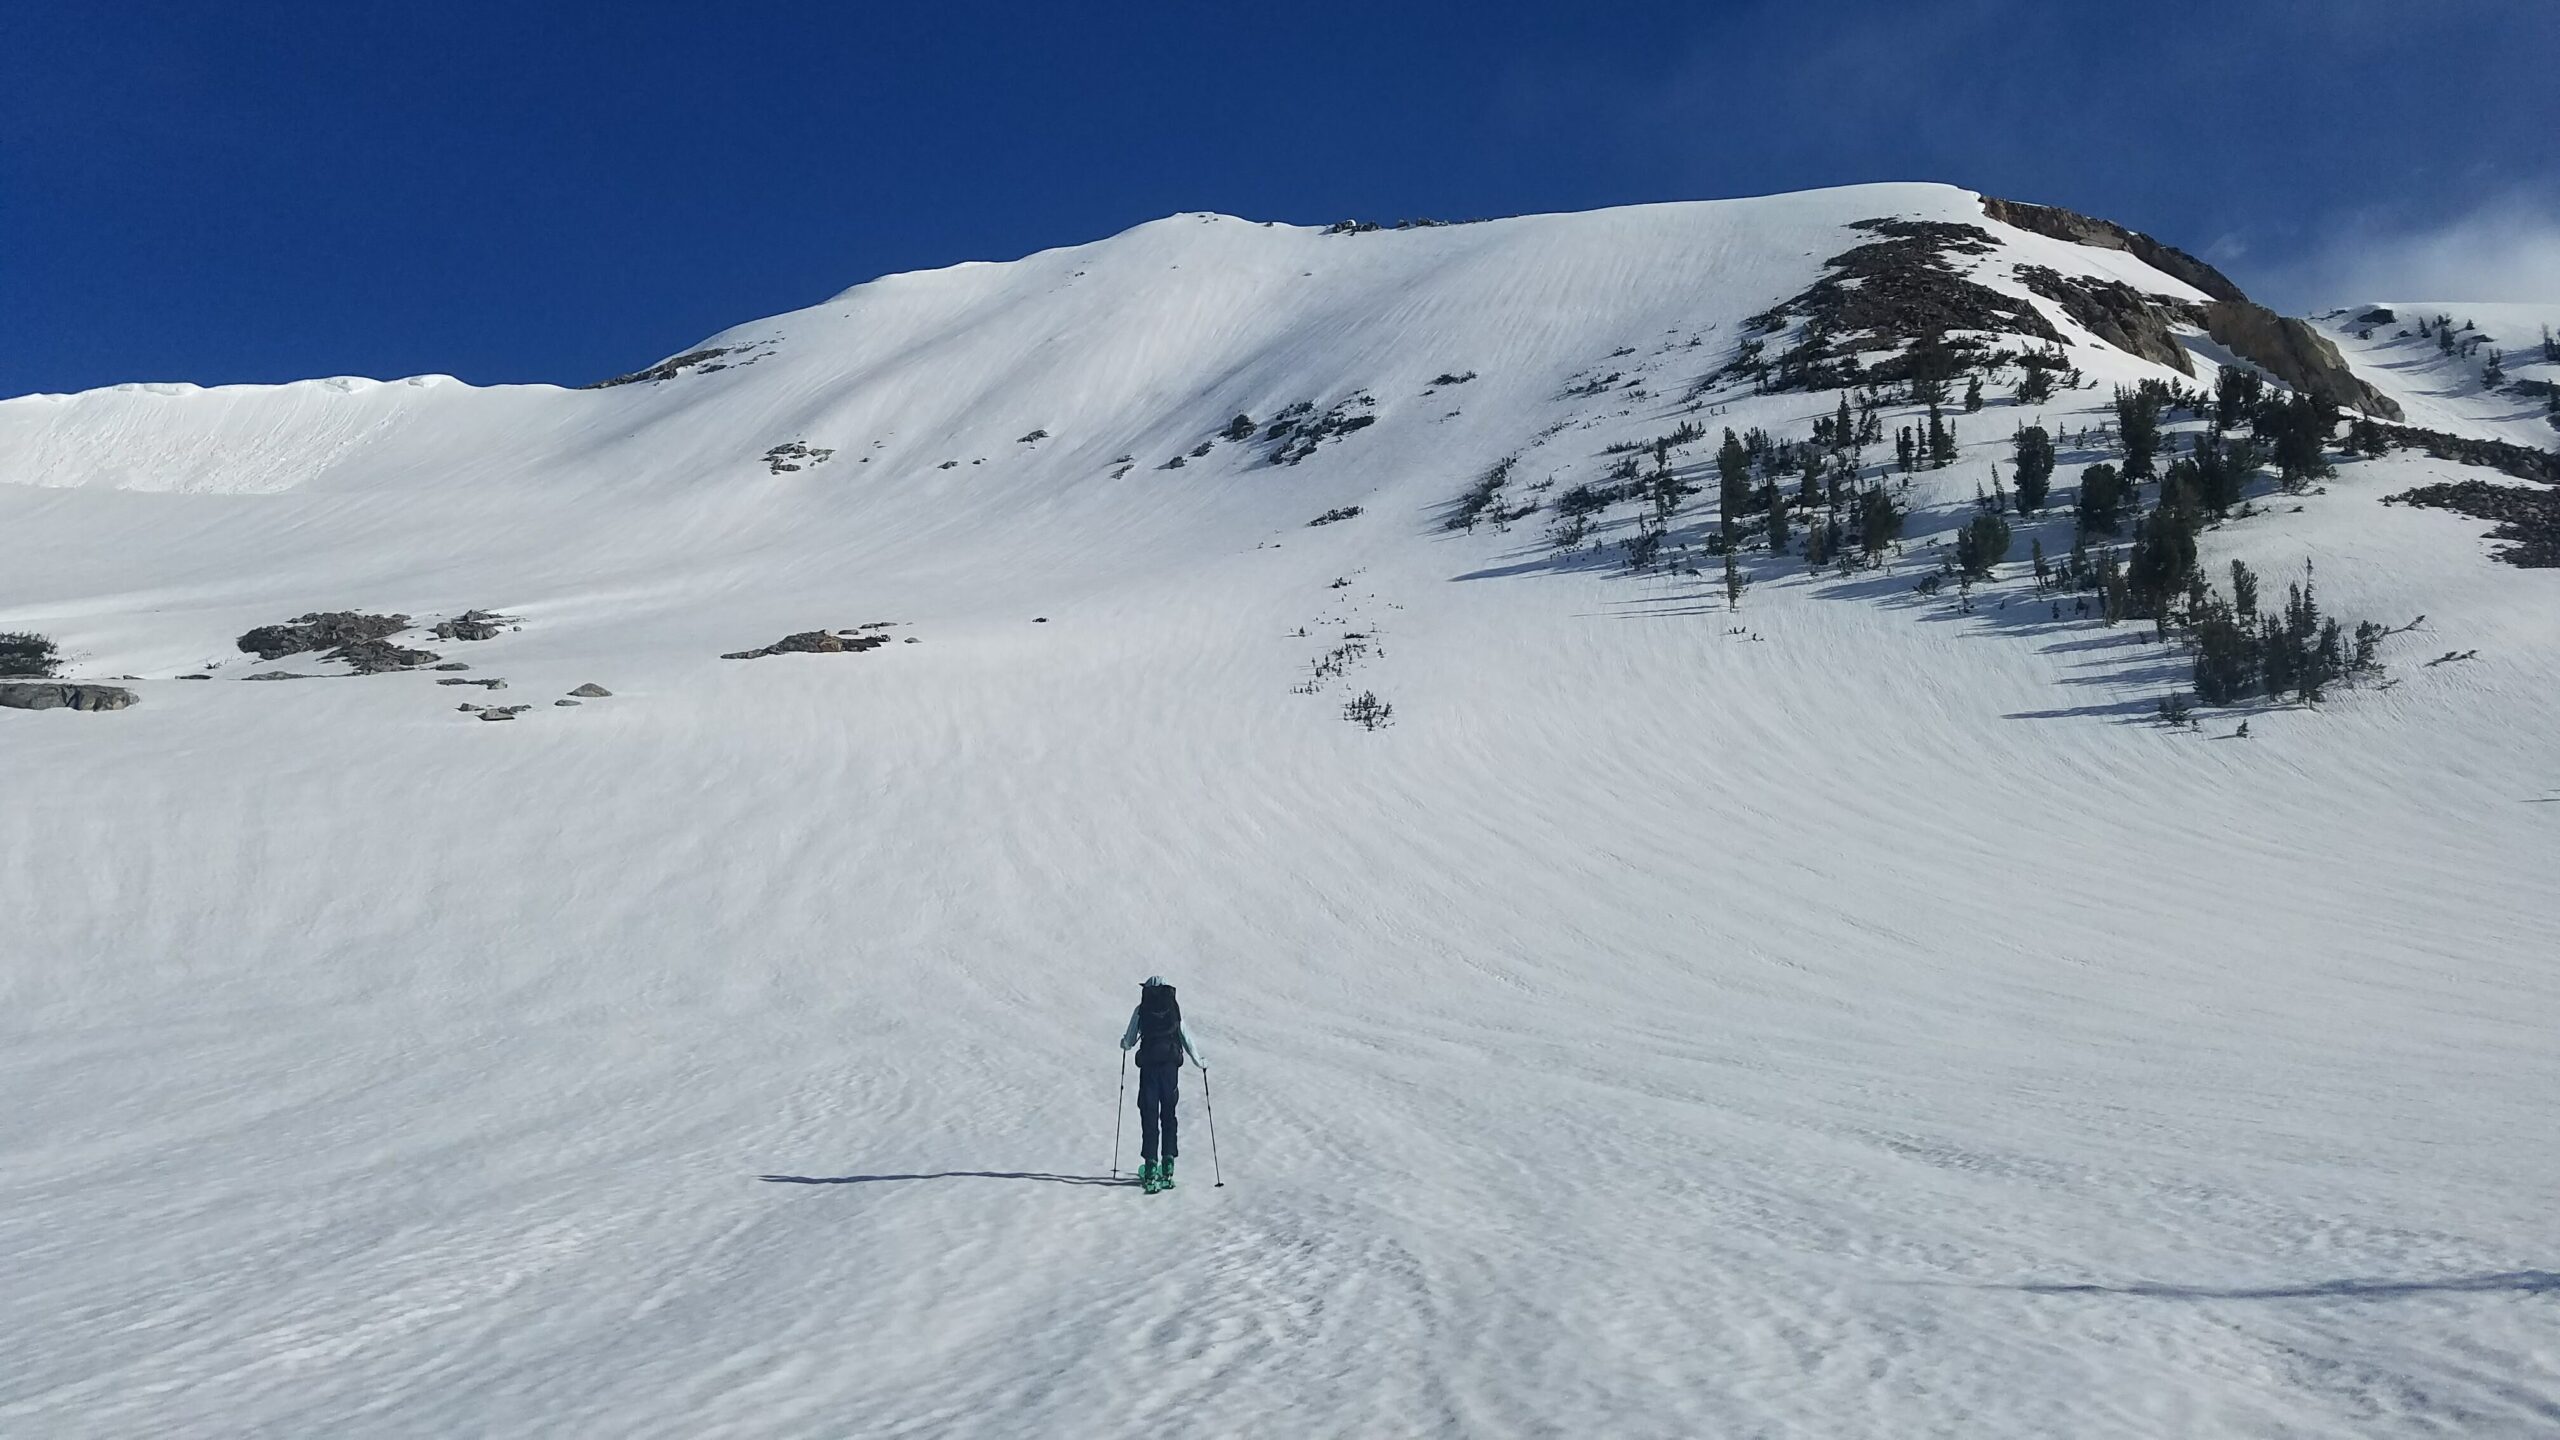
Sun is a very efficient heater when compared to ambient air temperature. So when looking at spring tours one of the first questions I ask is, “When is the slope I want to ski going to start catching sun? The Sun Dial feature on Google Earth is helpful in figuring out sun patterns on unfamiliar terrain. This video demos this feature on GE.
The next question I ask is, “Is the slope going to warm up altogether or will different parts warm more quickly than others?” Slope angle, aspect, elevation, and trees are the big factors here. Large planar slopes are generally more desirable corn locations since they warm evenly. Convoluted terrain or terrain with many trees are tough to find in good condition.
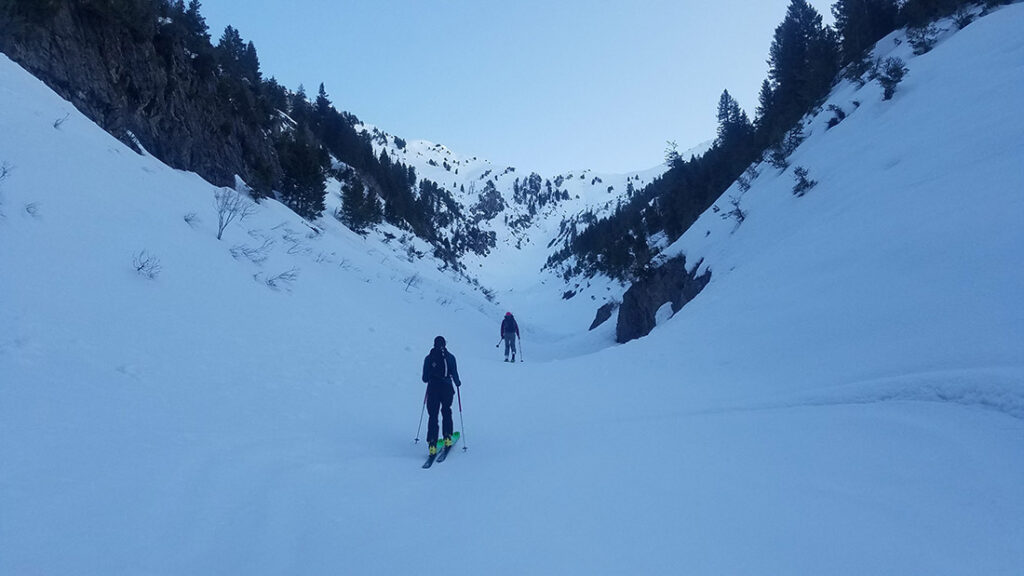
Springtime is one of the best times of year to be a backcountry skier. Remote corners of the mountains become more accessible as summer roads melt out, avalanche conditions become more certain and long days combined with a whole winter of fitness allows for big days in the mountains. With all this in mind, it’s probably time to set the alarm, check the headlamp batteries, put the flip flops and beer in the car and head to bed. Corn rarely rewards sleeping in. See ya out there.
Photos courtesy of Aaron Diamond.
About the Author
Location: Jackson, WY
Top Gear Picks: Skyline 166cm / Hyper V-Tail 160cm and 190cm
Instagram: @aarondiamond13
Aaron Diamond is an AMGA Certified Splitboard Guide and avalanche educator based in Jackson, Wyoming. He guides year round for Exum Mountain Guides and has guided technical ski and snowboard descents on various Teton summits including the Grand Teton, Middle, Teton, Nez Perce, and Mt Moran. In the summer months Aaron works as an alpine climbing guide on Denali and throughout the Greater Yellowstone Ecosystem. He is alway psyched to share his backyard with experienced and new backcountry travelers
In his free time Aaron enjoys spending time in the splitboarding in the Tetons, or exploring the lesser known areas of the Alaska Range with his friends. He has first descents in the Tetons, Andes, and Alaska Range, including unrepeated splitboard descents of the Ramen Route on Mt Hunter (14,573ft), Mt Foraker’s Sultana Ridge (17,400ft), The Fat Calf Couloir on Pico Polaco (5995m) and the SE Face of the Gilkey Tower (12,320ft).
Share this Post


