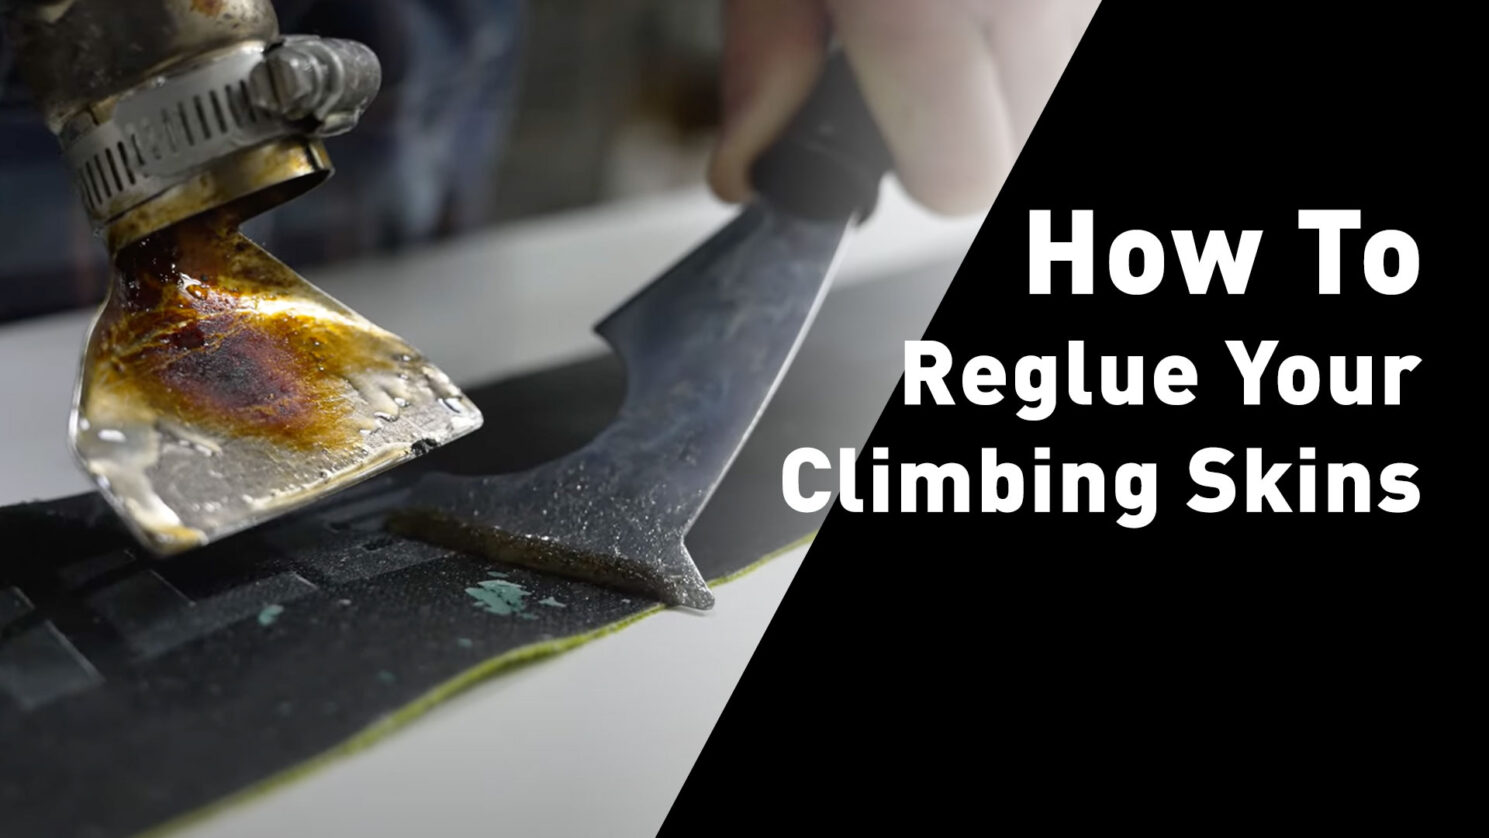
How to reglue your climbing skins
Share this Post
Climbing skins are the unsung heroes of backcountry skiing, giving you the grip you need to ascend powder-covered peaks. But over time, even the best skins can lose their stick—making your uphill battles a little more slippery. Before you toss your trusty pair and shell out for new ones, consider this: regluing your climbing skins can be an affordable, sustainable way to extend their life and keep them performing like new. With a little time and patience, you can reglue your climbing skins and have them back in action without breaking the bank.
At Voile, we’re all about keeping things simple and solid. That’s why we’re here to guide you through the reglueing process step-by-step. And if DIY isn’t your thing, don’t worry—this is a service we proudly offer at Voile HQ. Watch our full instructional video here or continue below for our written step-by-step instructions.
Tools needed to reglue your climbing skins
Before we jump in, let’s talk tools. Here’s what you’ll need to set up your workspace:
- A sturdy table or workbench in a well-ventilated area. Bonus points if you’ve got a fan nearby!
- A protective mask (because glue fumes aren’t great for your lungs).
- Tuning trees to hold your skis steady. You can find these at voile.com.
- A heat gun with a scraper attachment—or a heat scraper tool from Colltex. A regular painter’s tool can work, too.
- A roll of climbing skin glue.
- A piece of cardboard or scrap wood for discarding the old glue.
- Clamps and/or tape to secure the skins.
- Your skis and climbing skins, of course!
- A skin saver (or something similar to protect your work surface during the reglue process).
- An iron.
- A box cutter or scissors.
Important Note: This process involves heat and potentially toxic fumes, so work safely. If you’re unsure or uncomfortable, consider visiting a professional. It’s best to do this on a workbench, in a garage, or outside if possible.
Getting Started
- Attach your tuning trees to your workbench or table.
- Place your ski on the tuning trees and stretch one climbing skin over the ski, sticky side up, carpet side down (If you have a workbench that you don’t mind getting a little messy, you can perform the reglue there instead of using the tuning trees).
- Clamp or tape the tip and tail of the skin to keep it secure.
- Turn on your heat gun and let it warm up. Have your scraper, paint tool, and scrap wood or cardboard nearby—you’ll need them shortly.
Removing the Old Glue
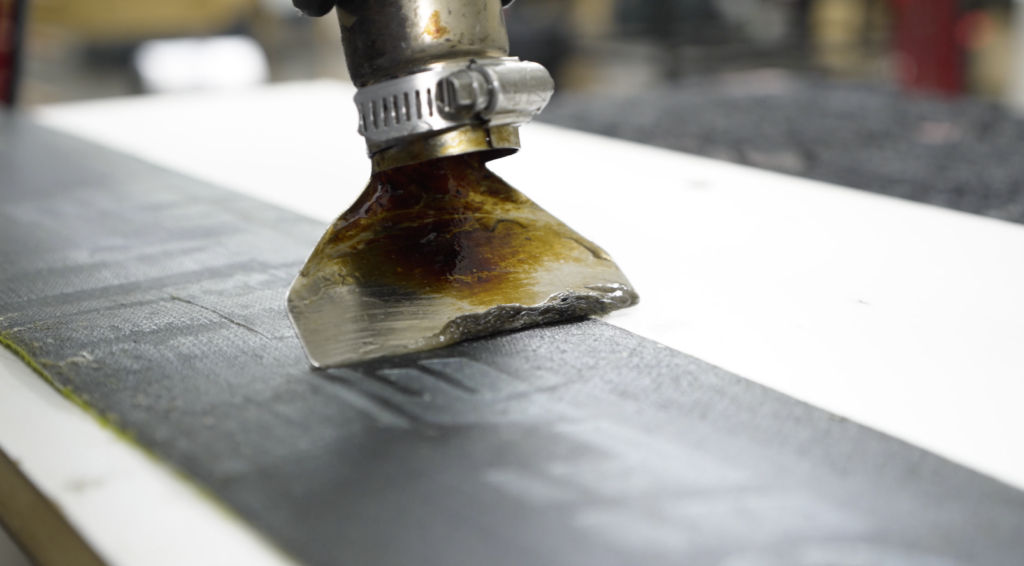
- Once your heat gun is warmed up (we do 650 degrees Fahrenheit), hold it at a safe distance from the skin and start heating the glue.
- As the glue softens, use your scraper to remove it in steady strokes. Be careful not to let your hands get too close to the heat gun barrel.
- After each pass, clean the excess glue off your scraper using your paint tool and discard it onto your scrap wood or cardboard.
Keep working your way down the skin until all the glue is removed. Then, hang the skin to cool while you repeat the same process on the other skin.
The Reglue Setup
Next, we’re prepping the skins for new glue.
- Lay out your skin saver or a protective surface to catch any mess.
- Place your glueless skin on top of it, sticky side up.
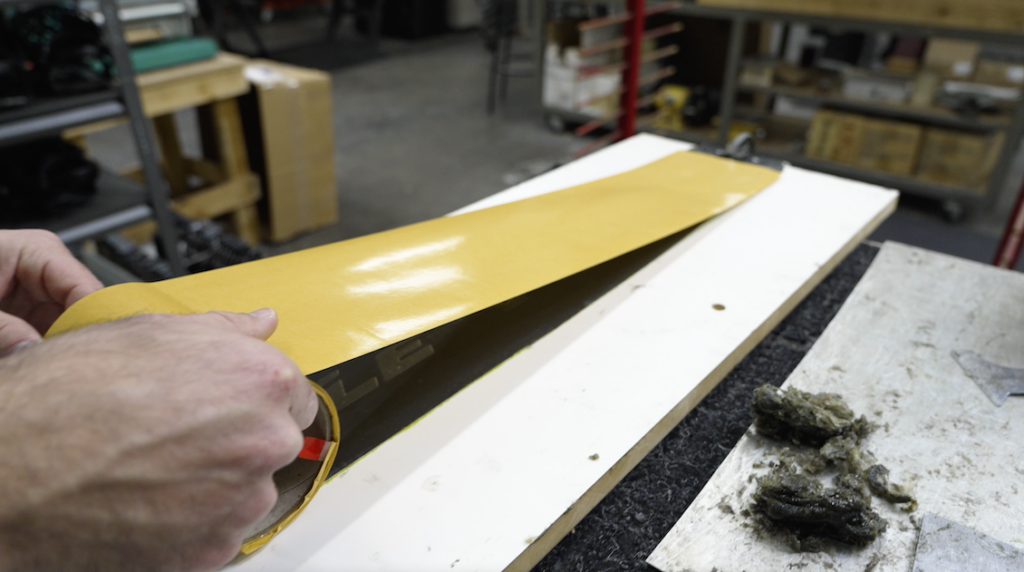
- Roll out the Pomoca glue and line it up with the skin.
- Carefully lay the glue sheet onto the skin, smoothing it out to minimize wrinkles or folds. Press down firmly with your hand to ensure it adheres evenly.
Applying the New Glue
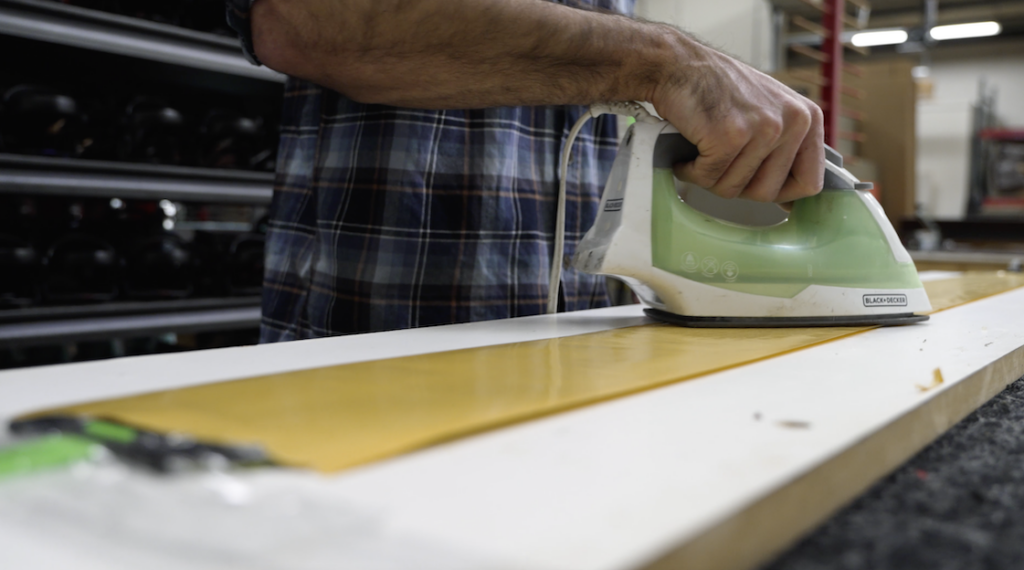
Now it’s time to heat things up again—this time with your iron.
- Preheat your iron (set it to a medium – high setting—warm enough to activate the glue, but not too hot to avoid damaging the skins).
- Slowly move the iron over the glue sheet, starting at one end and working your way down. It’s similar to waxing skis—don’t linger in one spot too long to avoid overheating.
- Make 2 full passes (up, down, up, down) until the glue starts to adhere fully (you might notice some light bubbling, which is fine, large bubbles can create missed patches).
Set the skin aside to cool for at least an hour—longer if possible. In the meantime, repeat the same process for the other skin.
Final Steps
Once the glue has fully cooled, you’re ready for the final step.
- Trim off the overhanging glue sheets on both sides of the skin with your box cutter.
- Gently peel off the top layer of the glue sheet.
- Stick the two skins together, then pull them apart a few times to make sure the glue is working properly.
And that’s it—you’re done! Your climbing skins are as good as new and ready for your next backcountry adventure.
Thanks for tuning in!
By regluing your climbing skins, you’re not just saving money—you’re giving a second life to a piece of gear that’s been with you through countless adventures. With the right materials (like Pomoca glue rolls) and a little effort, you can enjoy many more laps in the backcountry without worrying about losing grip.
If you’d rather leave the glue job to the pros, we’ve got you covered. At Voile, our team can reglue climbing skins with precision and care, ensuring they’re ready for whatever terrain you throw at them.
Ready to give your skins the refresh they deserve? Watch the video, follow the steps, and get back to chasing peaks—no slipping required.
Share this Post


