
How to Mount Voile 3-Pin Bindings
Share this Post
If you’re interested in learning how to mount Voile 3-Pin bindings onto your skis, you’ve come to the right place. This guide will walk you through the process using a paper template. However, before we dive in, we want to emphasize a few key points:
- We highly recommend having your bindings mounted by a professional ski tech. This isn’t the most intuitive mount, and getting it done right is critical.
- If you purchase full-price Voile skis and bindings from our website or retail store, we’ll mount them for free. One less thing for you to worry about.
- We also sell Voile jigs. If you plan on doing multiple mounts, using a jig is a great way to ensure precision. You can find them on our website.
If you still want to tackle this yourself, we’ll walk you through how to mount Voile 3-Pin bindings step by step.
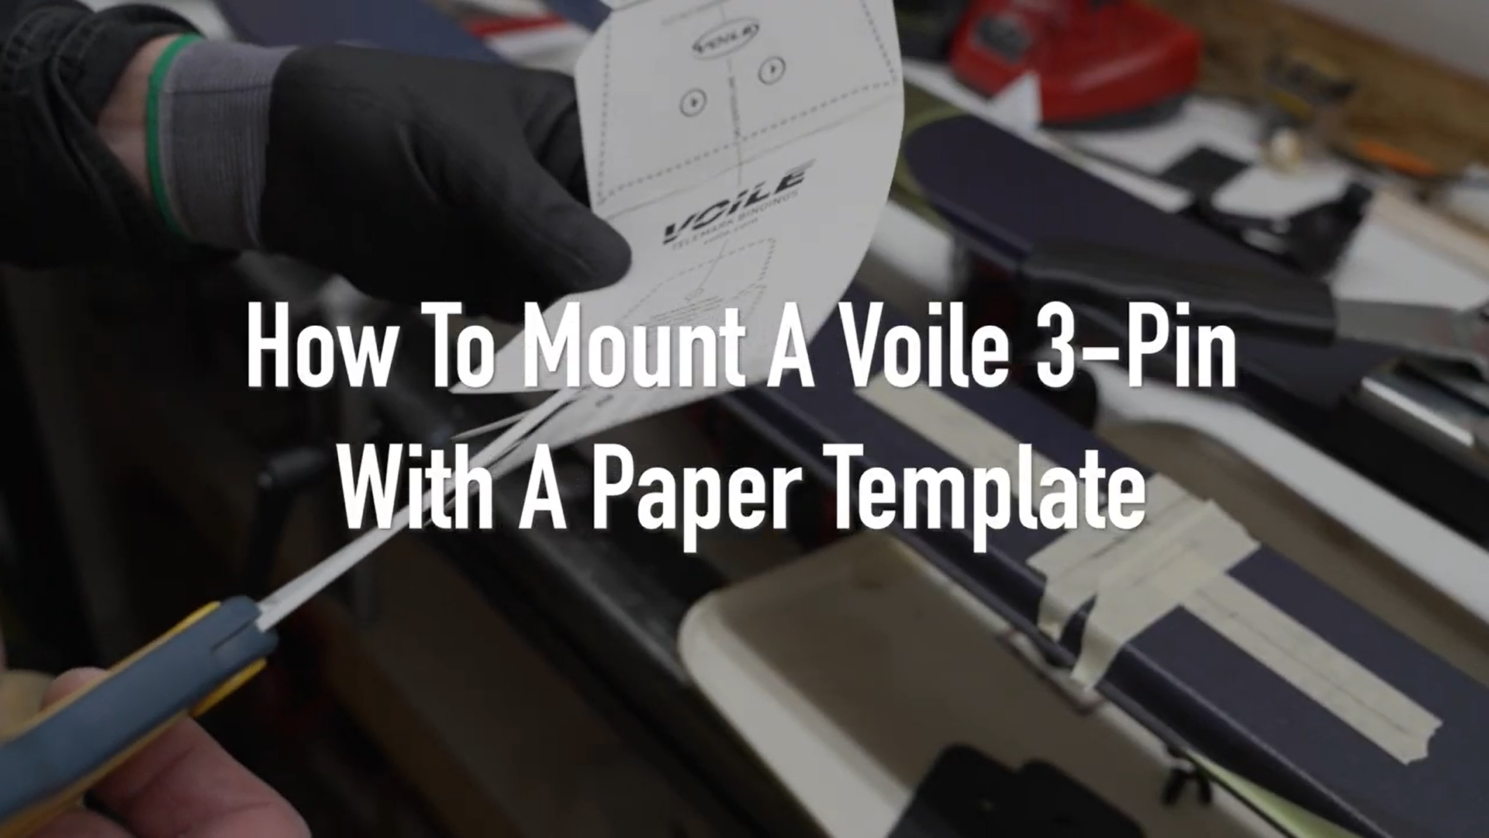
How to Mount Voile 3-Pin Bindings Video
1: Find the Correct Paper Template
First and foremost, we need to ensure that you’re using the proper paper template. There are two paper template PDFs out there for our 3-Pin bindings. One features the “3-hole pattern” which is used to mount the 201 Telemark 3-Pin, HD Mountaineer 3-Pin, and 3-Pin cable bindings. You can find this template here.
The other one features the “4-hole pattern” which is used to mount the 3-Pin Cable Traverse and the Hardwire 3-Pin. You can find this template here. On these bindings, you’ll first be mounting the shim to the ski using the 4-hole pattern. Once that’s been done, there will be a 3-hole pattern pre-drilled into the shim that you’ll mount your toe piece onto.
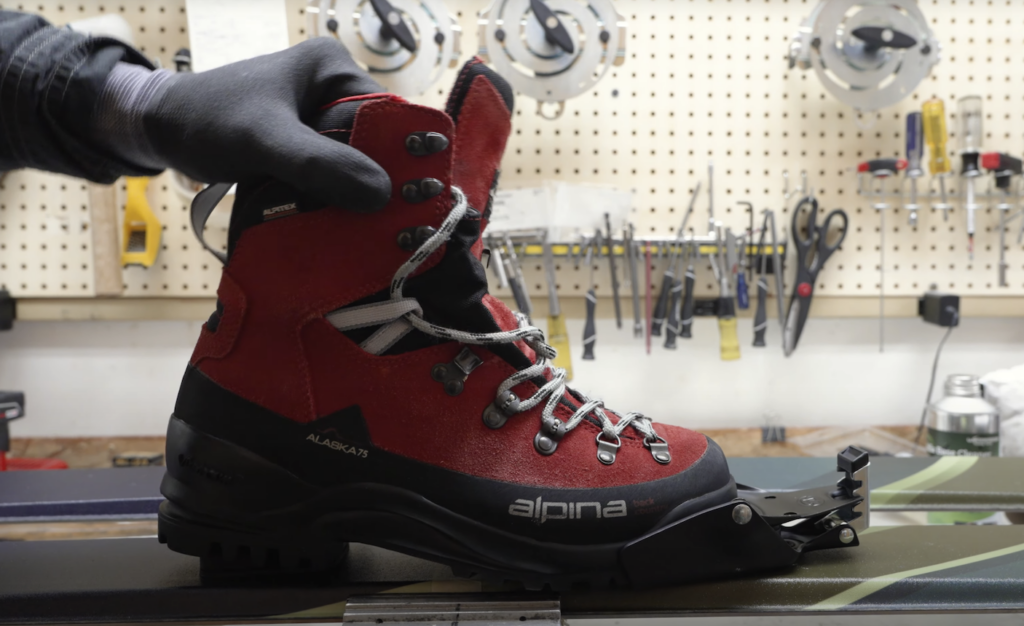
2: Find Your Boot Sole Center
Before mounting the binding, you need to determine the center point of your boot sole. You can find a separate blog post showing how to find your BSL and the recommended mount point of a Voile ski here.
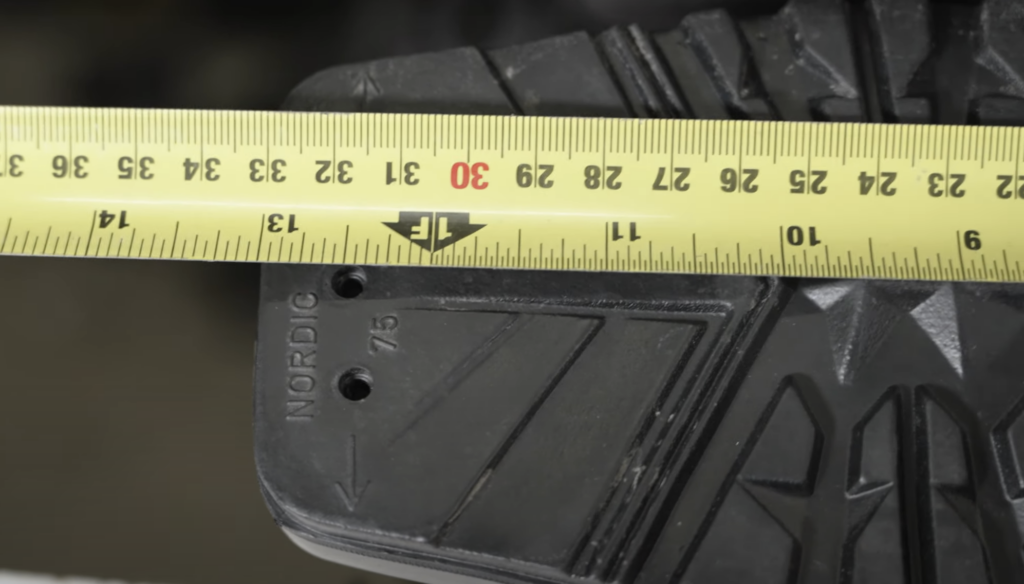
- Take a tape measure and measure the length of your boot sole from the heel to the center of the middle pin on the toe.
- Divide this measurement by two. This gives you your boot sole center.
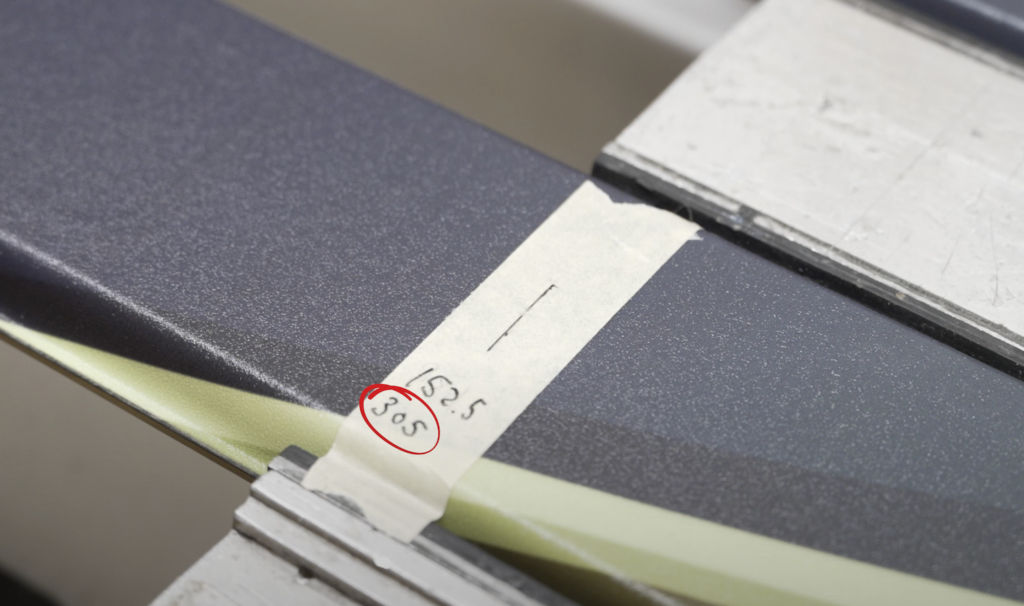
- Example: If your boot sole length is 305mm, the center would be 152.5mm.
- Double-check that this measurement is equal both in front of and behind the boot center to ensure accuracy.
3: Prepare the Paper Template
- Print the proper paper template.
- Depending on the width of your ski, you may need to cut small windows in the template so you can see the ski’s centerline.
- Cut out the center diamond on the template. This will help align it properly with the ski.
4: Find the Vertical Centerline of Your Ski
To ensure your binding is mounted perfectly straight, you need to locate the vertical centerline of your ski.
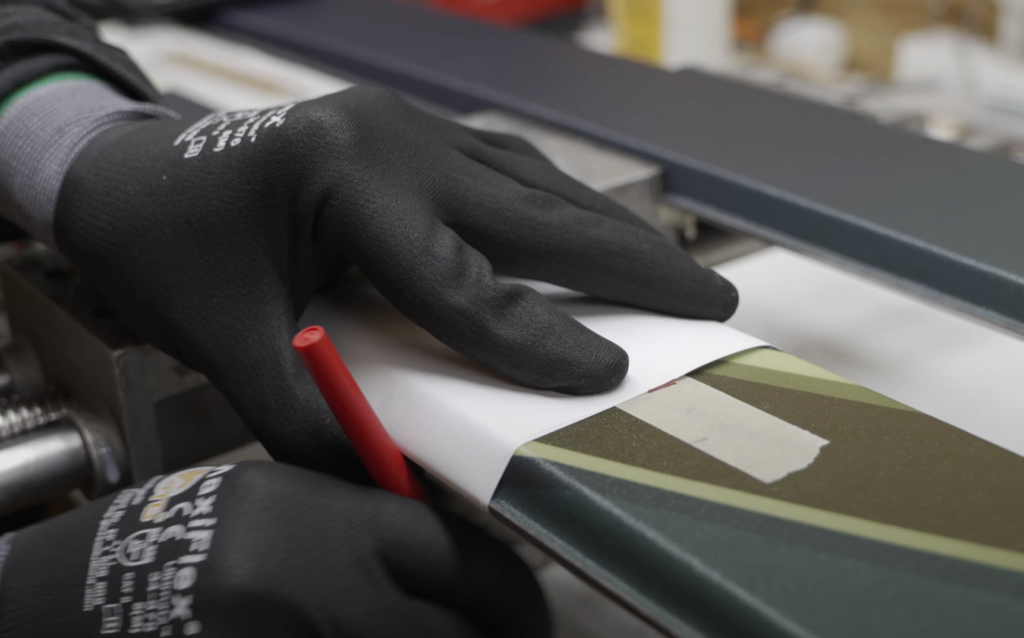
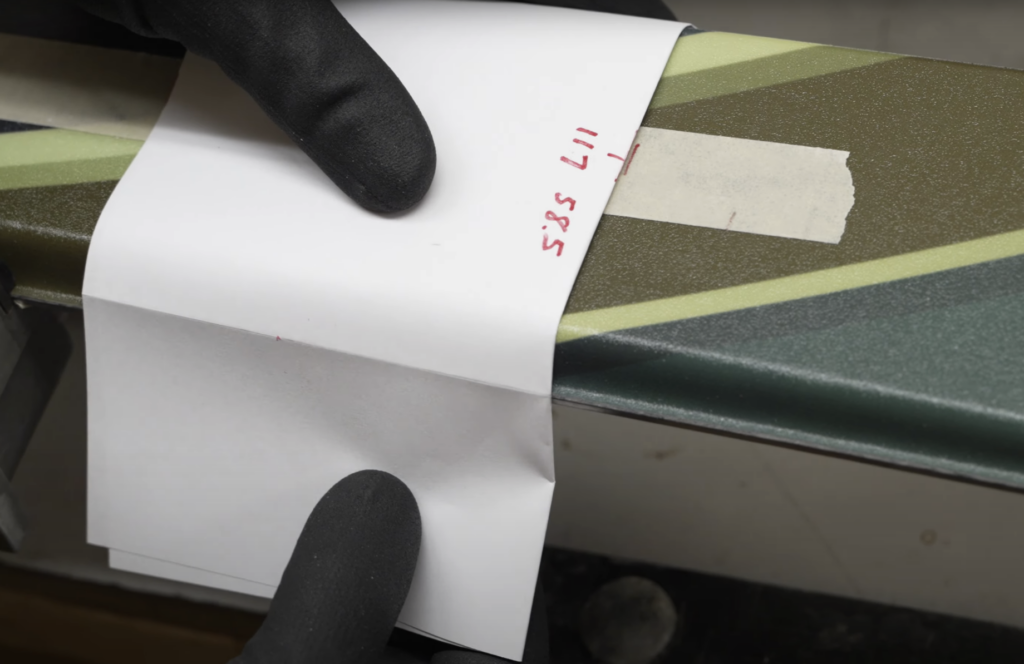
- Take a spare piece of scrap paper and crease it tightly around the edge of the ski.
- Measure from crease to crease—this will show you the exact center of the ski.
- Mark this center point on a piece of tape on your ski.
Now, you’ll be able to line up the paper template with both the boot center and the ski’s vertical center.
5: Mark and Drill the Binding Holes
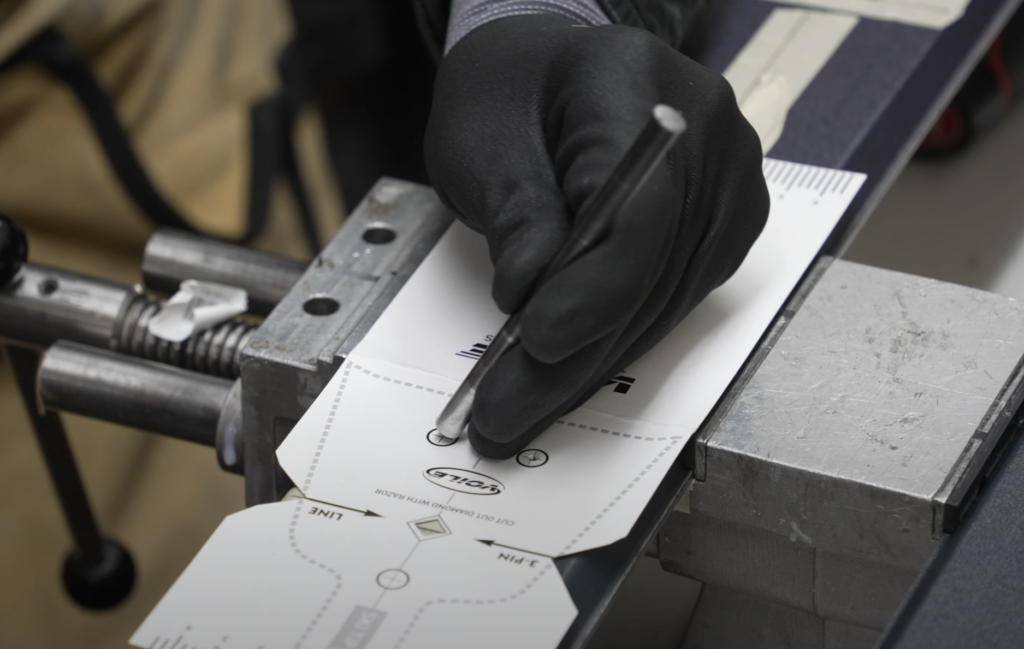
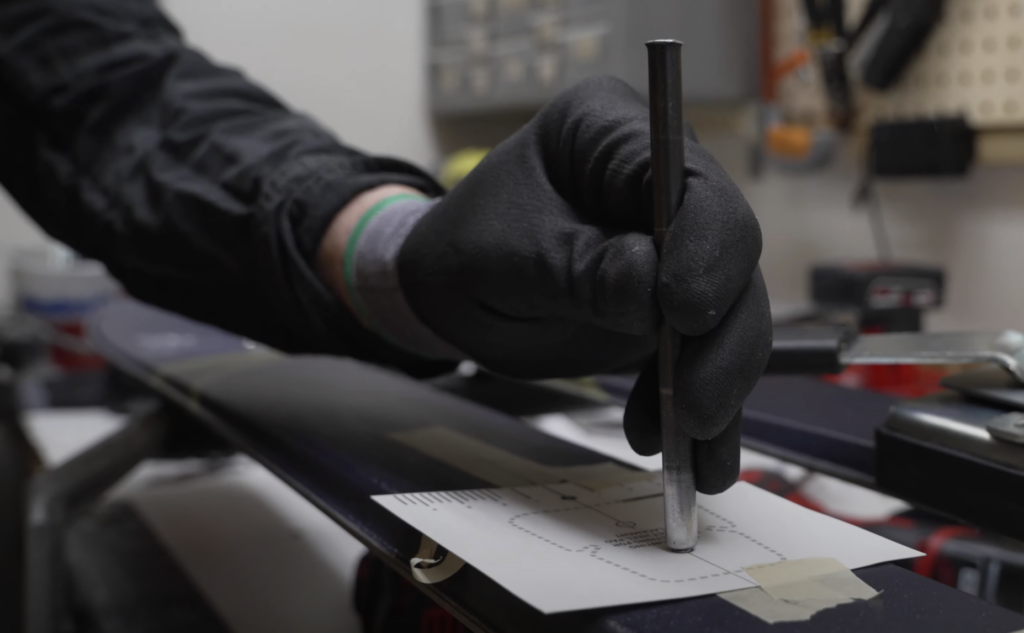
- Tape the paper template down to the ski, ensuring it’s lined up with the center marks.
- Use a nail or punch to make small center marks where the screws will go. This will help guide your drill bit.
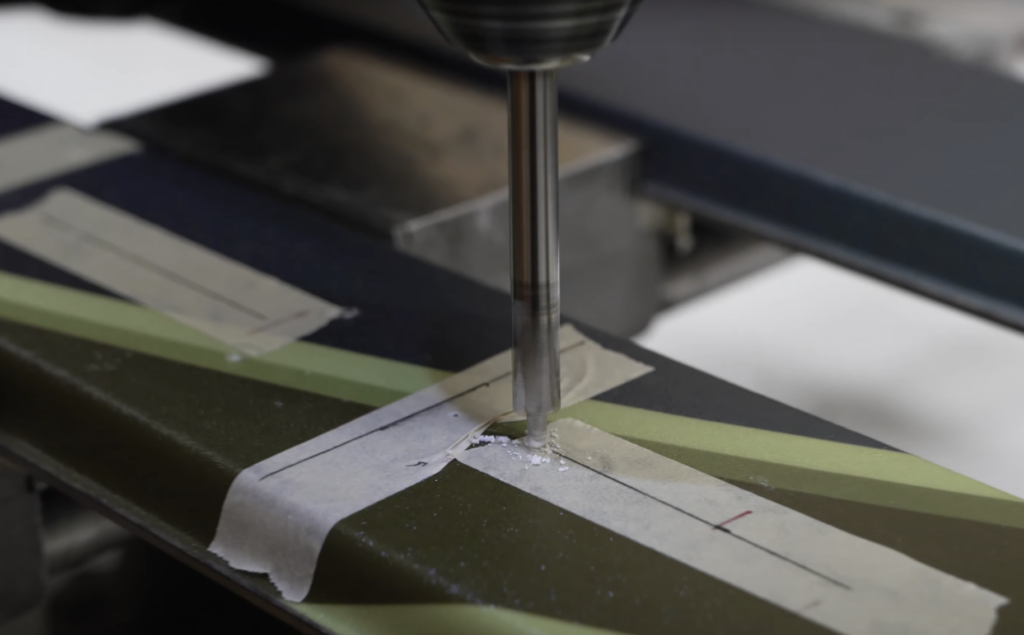
- Remove the template and carefully drill the holes.
- Be precise—do not drill too deep as this can dimple the base of your ski.
- Remove the tape and clean up the topsheet with a razor blade to ensure a smooth surface.
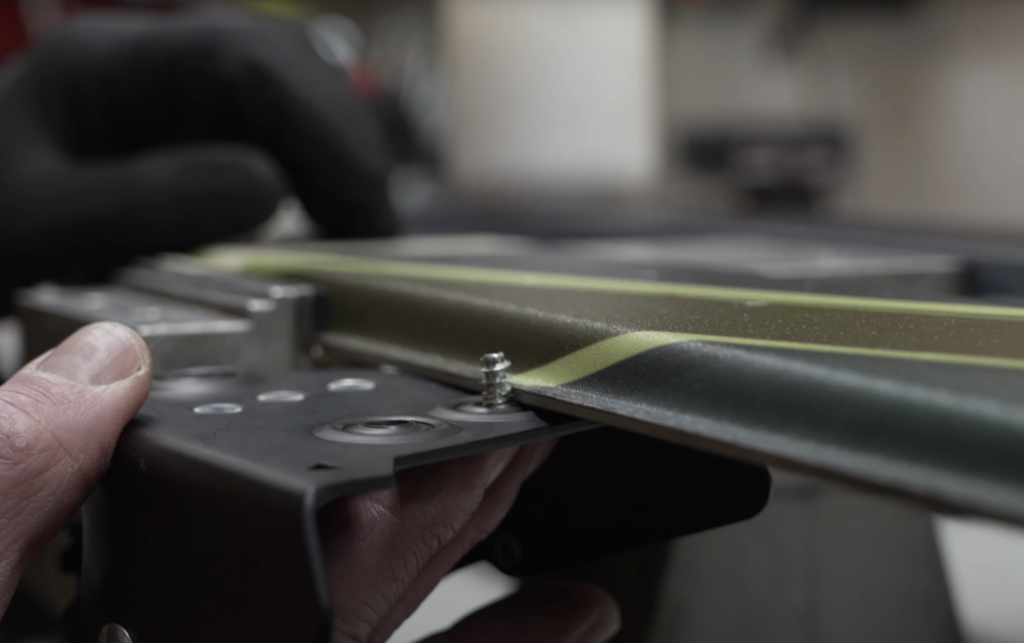
6: Check the Screw Length
Before attaching the binding:
- Insert a screw into the binding and hold it flush against the ski.
- Ensure that the screw is not too long—it should not punch through the base of the ski.
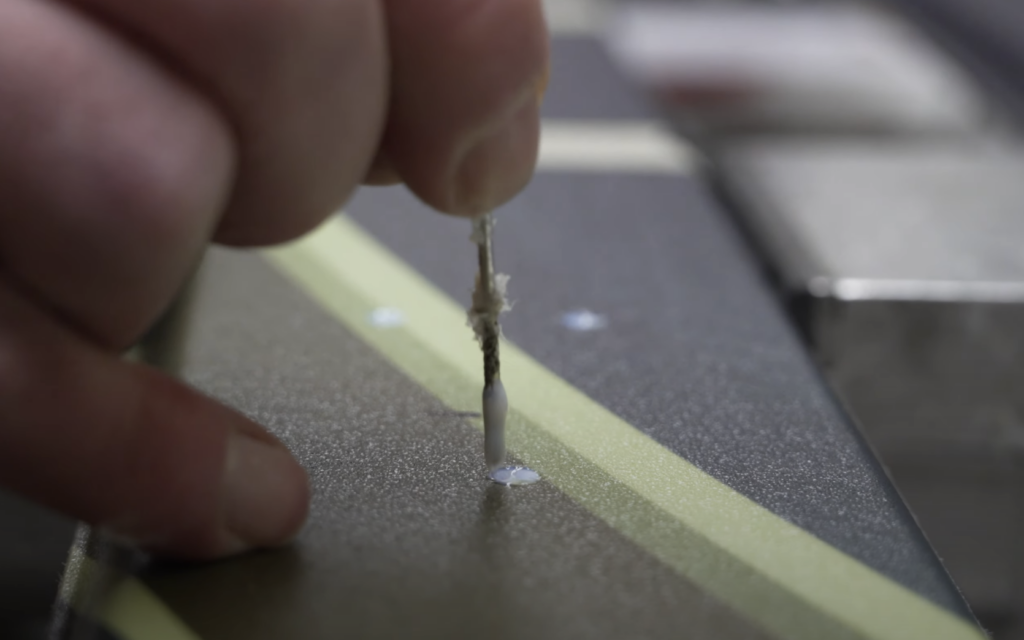
7: Apply Epoxy or Wood Glue
- Add a small amount of epoxy or waterproof wood glue into each drilled hole.
- Use a needle or paperclip to stir inside the holes and remove any air bubbles.
This step helps waterproof the holes and improves the binding’s durability.
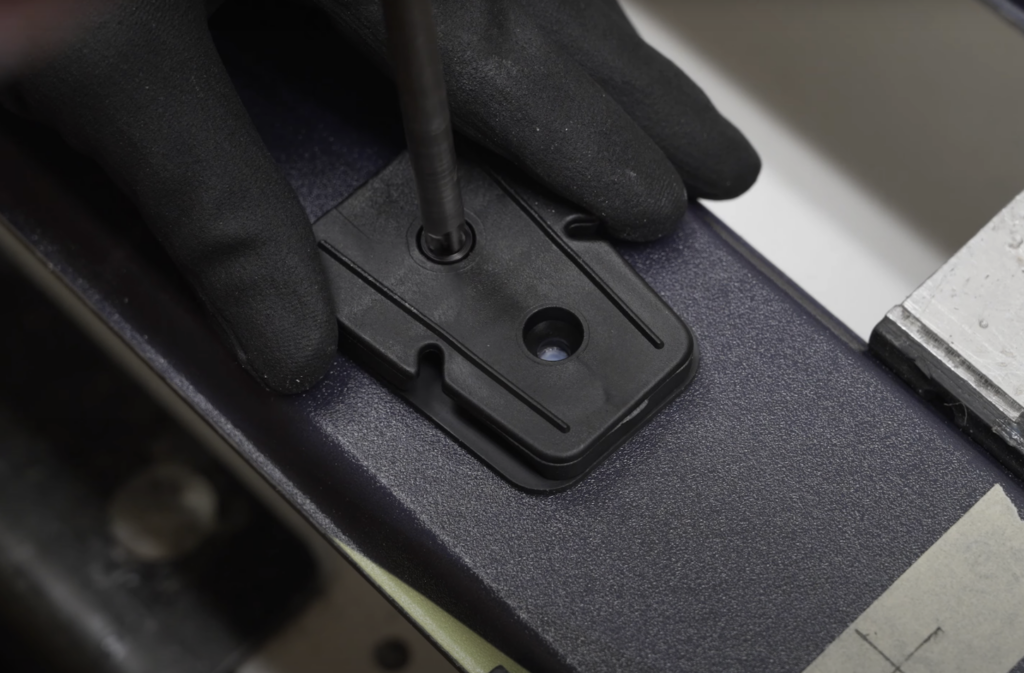
8a: Mount the Toe Shim
*This only applies if mounting the Hardwire 3-Pin or 3-Pin Cable Traverse
- Secure the toe piece to the ski using a drill.
- Hand-tighten the last few rotations to avoid over-tightening and dimpling the ski base.
- Mount the toe piece of the 3-Pin binding to the shim by hand with a screwdriver. Do not use any wood glue or epoxy for this step.
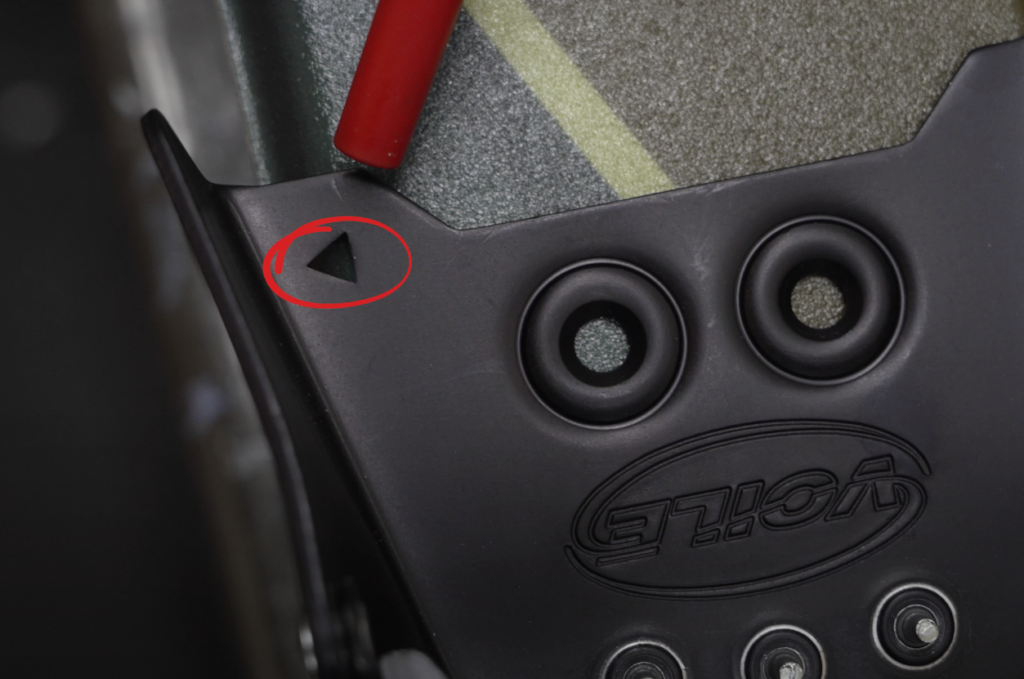
8b: Mount the Toe Piece
- Double-check that the left binding is going on the left ski and the right binding on the right ski.
- The arrow cutouts on the binding toe piece will indicate this.
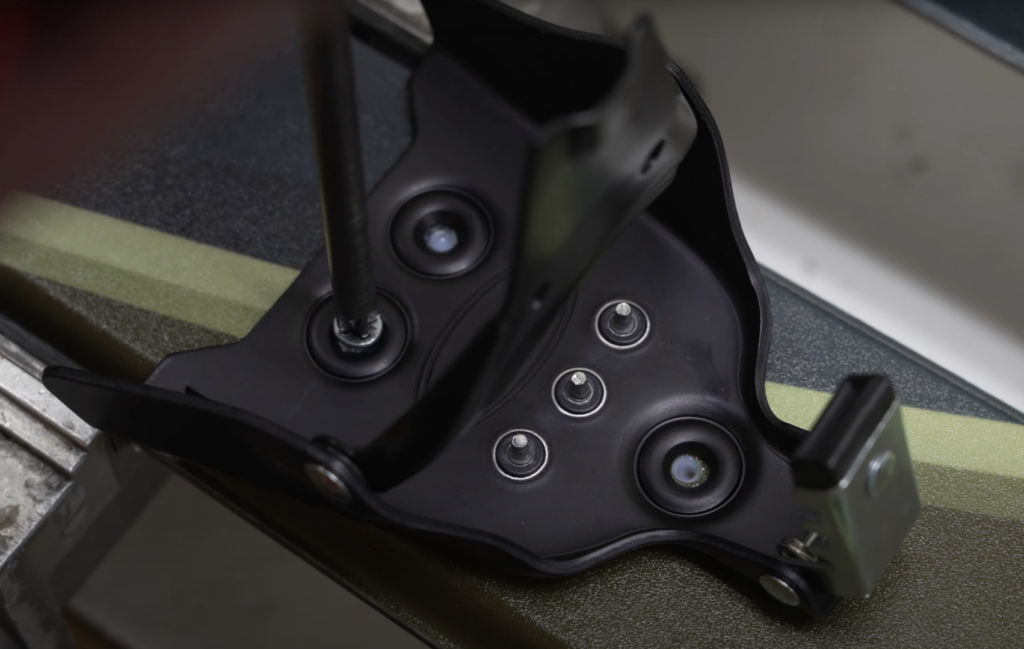
- Secure the toe piece to the ski using a drill.
- Hand-tighten the last few rotations to avoid over-tightening and dimpling the ski base.
9: Mount the Heel Piece
- If needed, cut windows in the template for better alignment.
- Align the heel piece center with the heel of the boot.
- Tape the template down and center punch the screw holes as you did for the toe piece.
- Drill the holes carefully.
- Apply epoxy or waterproof wood glue as before.
- Secure the heel piece using a drill, hand-tightening the last few turns.
- Insert screw plugs into the heel piece.
10: Repeat for the Second Ski
Now that the first ski is mounted, repeat the process for the second ski.
Once both bindings are mounted, you’re ready to hit the backcountry!
Final Thoughts
While mounting your own 3-pin bindings is possible, it’s a precise process that requires attention to detail. If you’re unsure at any step, take it to a professional ski tech—it’s worth getting it done right.
If you want an easier way to mount your bindings, check out our Voile jigs, available on our website. And remember, if you buy your skis and bindings from us, we’ll mount them for free.
Now you know how to mount voile 3-Pin bindings on your own skis. Thanks for tuning in!
Share this Post